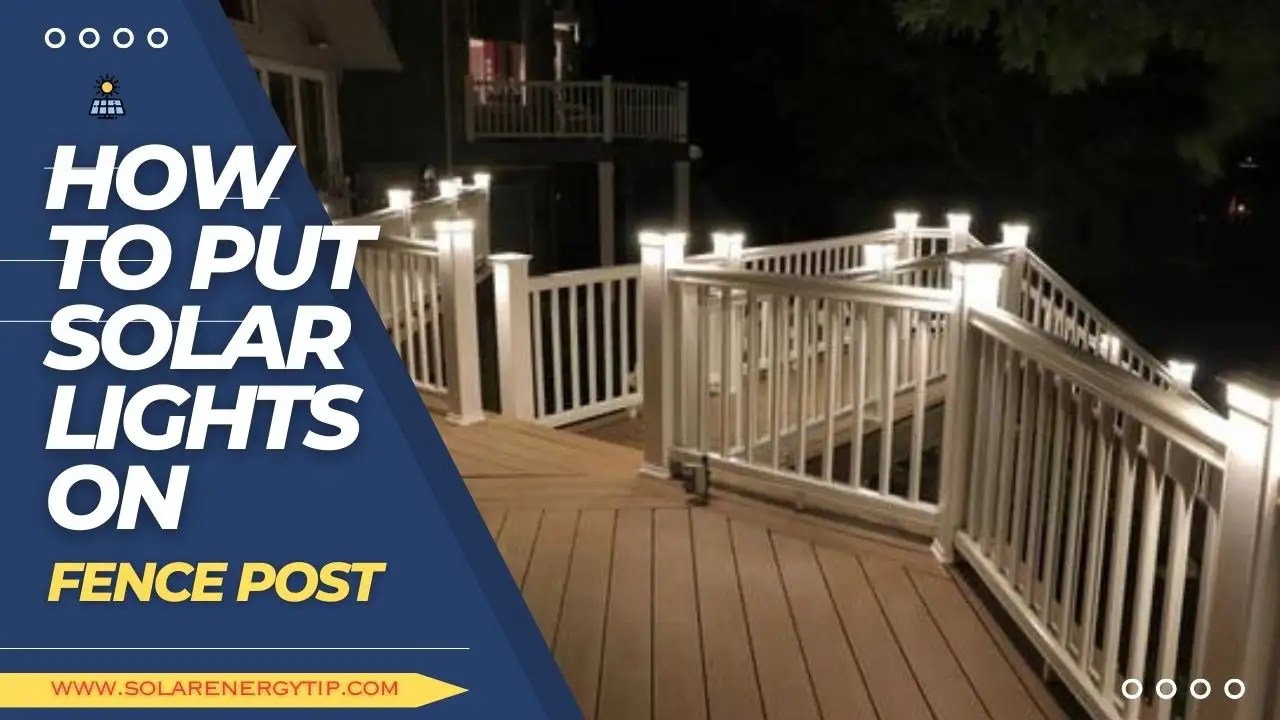
Are you considering adding lights to your fence post to make it more attractive? Solar lights are an excellent solution to both illuminate and safeguard fence posts.
You might also be interested in learning how to put solar lights on fence posts.
Are you interested in doing this work but are unsure where to begin?
You may accomplish this by following the seven easy steps I’ve outlined in this post, and you’ll be able to finish your task fast and easily.
The US Department of Energy reports that solar lighting is becoming more and more commonplace for illuminating outdoor areas.
If you are in a hurry, then check out this solar light for your fence and only overview the steps below.
Greluna Solar Wall Lights
2 Modes Solar LED Outdoor
Solar LED Outdoor Wall Lights, Warm Amber/Color Changing, Pack of 8, for Deck, Fence, Patio, Front Door, Stair, Landscape, Yard, and Driveway Path
Look at a step-by-step tutorial for mounting solar lights on fence posts.
- How To Put Solar Lights On A Fence Post Quickly And Easily step by step
- 👉 Step 1. Measure the Height of Your Fence Post
- 👉 Step 2. Determine How Many Lights You Need
- 👉 Step 3. Purchase or Make the Lights
- 👉 Step 4. Attach the Lights to Your Posts
- 👉 Step 5. Connect the Wires to Your Controller
- 👉 Step 6. Test and Adjust Your Lights as Necessary
- 👉 Step 7. Add Additional Light Sources, Such as Solar Panels
- Best Solar Lights For Fence Post on your property
- FAQs
- Conclusion
How To Put Solar Lights On A Fence Post Quickly And Easily step by step
Your outside space can benefit significantly from installing solar lights on fence posts. It is a simple and inexpensive operation when the proper supplies are used.
This tutorial will show you how to install solar lights on fence posts quickly and efficiently. You will need to finish the project quickly and start enjoying using your new outdoor lights for fencing.
👉 Step 1. Measure the Height of Your Fence Post
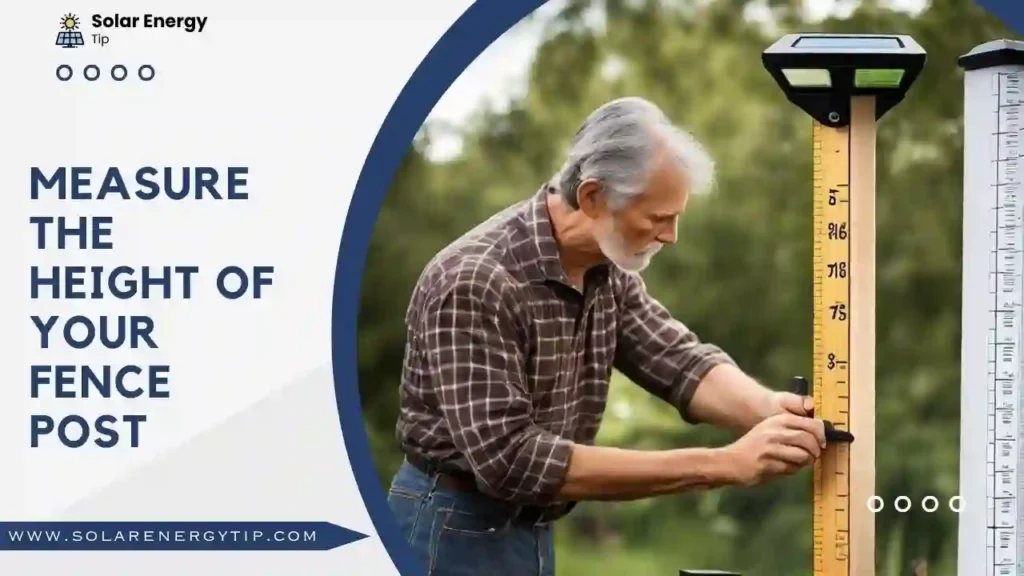
Measuring the post’s height before attaching solar lights to your fence is crucial.
Ensure that the solar lights are positioned correctly and will receive enough sunshine during the day to power the lights at night; this is important.
You can get the best performance from your solar lights if you measure the fence post precisely.
A standard fence post is between 2 and 4 feet in height. Use solar lights with higher mounting brackets or buy more solar panels if your fence post is taller than 4 feet.
You might be unable to use solar lights on fence posts shorter than 2 feet, so you’ll need to find another way to illuminate your fence.
How to measure fence posts for solar lights
Use a tape measure to stretch a length of rope between the top of the post and the ground to determine the height of your fence post.
Record the length of the rope after measuring it. Next, check to see if the post is level using a level.
👉 Step 2. Determine How Many Lights You Need
Knowing the precise number of lights you need is crucial before starting your endeavor to put solar lights on your fence posts.
The length of the fence must first be determined, after which you must choose the lights’ spacing.
If you put them too close together, they might not be bright enough; if you put them too far apart, you might not have enough light to illuminate your area sufficiently.
Remember any additional areas you wish to illuminate, such as a garden or pathway. The success of your project depends on knowing just how many solar lights you need.
You’ll need at least 8 lights if your fence is about 100 feet long. You will need 16 lights if it is 200 feet long.
Remembering that solar lights will shine brighter the closer they are to one another is crucial.
They will share energy if you put them too close together, making the lights less bright. You can space them farther apart if you want the light to be brighter.
👉 Step 3. Purchase or Make the Lights
Your first choice is to buy pre-made solar lights or create them yourself when installing them on fence posts.
You will probably have several colors, sizes, and forms to choose from if you purchase the lights already manufactured.
However, suppose you decide to manufacture your solar lights. In that case, you can alter them to your specifications to match the appearance of your fence posts and produce a personalized lighting pattern.
Regardless of your approach, be sure to correctly measure your posts to ensure they are designed in such a way for your solar lights.
You can take several approaches if you choose to create your solar lighting.
Either buy a pre-made solar light and mount it with screws or nails or buy an LED light kit and install it yourself.
Whichever path you choose, carefully read the directions so the lights are installed correctly.
👉 Step 4. Attach the Lights to Your Posts
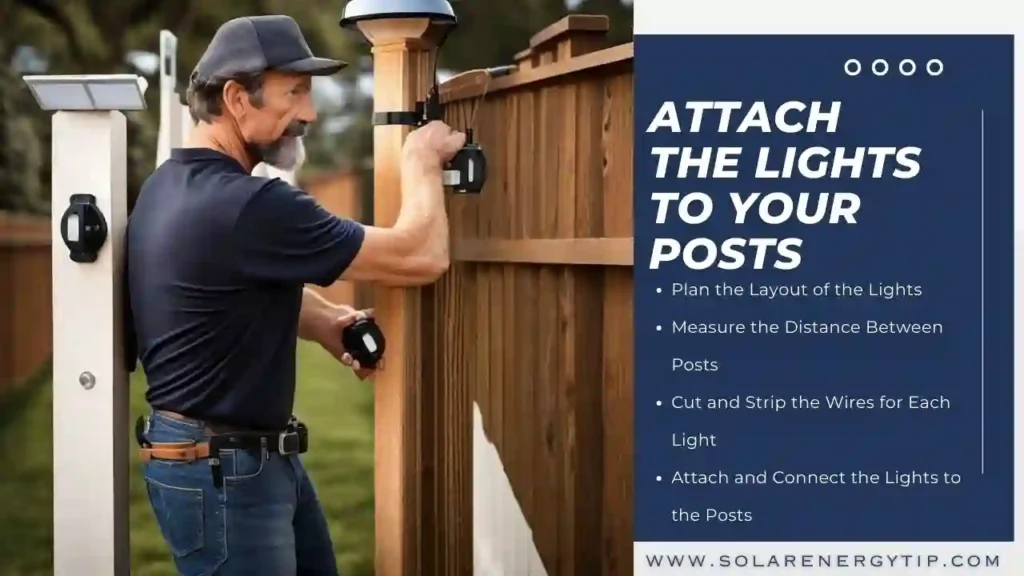
Attaching solar lights to a fence post is a relatively straightforward process. Begin by measuring the post and cutting the light’s mounting bracket to fit.
Next, attach the bracket to the post using screws, ensuring that the solar panel is facing in the direction of total sun exposure.
Once the bracket is securely in place, slide the light onto it and secure it with a screw or two.
Finally, charge the lights for at least three days before activating them.
With these 4 steps below 👇, your fence posts will be illuminated with solar lights in no time.
Plan the Layout of the Lights
The size of the area that needs to be illuminated should be considered when determining how to arrange the solar lights along the fence post.
Additionally, consideration should be given to the number of lights utilized, their location, and the illumination pattern.
Remember that solar lights are powered by sunshine and should be installed where they will receive direct sunlight throughout the day.
Measure the Distance Between Posts
A crucial step in installing solar lights is measuring the space between fence posts.
It is crucial to determine how much room is available to ensure the lights are appropriately placed and fit correctly.
When taking measurements, measure a tape measure from one post’s outside to the next post’s outside.
When it comes time to install the lights, note the measurements on paper so you can readily refer to them.
Cut and Strip the Wires for Each Light
Installing solar lights on a fence post requires cutting and stripping the wires for each light, which is a significant stage.
Before cutting the wires to length, determine the wire required for each light.
Use a wire stripper to remove about an inch of insulation from each end of the wires after they have been cut.
This will ensure a safe connection between the fence post and the solar lights.
Attach and Connect the Lights to the Posts
Lighting up your outside area is easy and affordable when solar lights are mounted on fence posts. Make sure the posts are level and secure before continuing.
Next, use screws or other mounting hardware to directly fasten the lights to the posts.
Finally, attach the wires that will power the lights to the solar panel. The solar lights should be able to illuminate your outside space once they are connected beautifully.
Read More: Best Uplighting for Your House
👉 Step 5. Connect the Wires to Your Controller
It’s time to connect the cables to your controller once the solar lights have been fixed on the fence posts.
Here are several examples of connections with wires that are shown.
Locate the controller’s positive and negative terminals first, then attach each wire to the corresponding terminal.
To guarantee a tight seal, be sure to lock nut each wire.
To finish the installation, attach the solar panel to the controller and ensure it is facing in a direction that will get sufficient sunlight. Your solar lights are now ready for use.
👉 Step 6. Test and Adjust Your Lights as Necessary
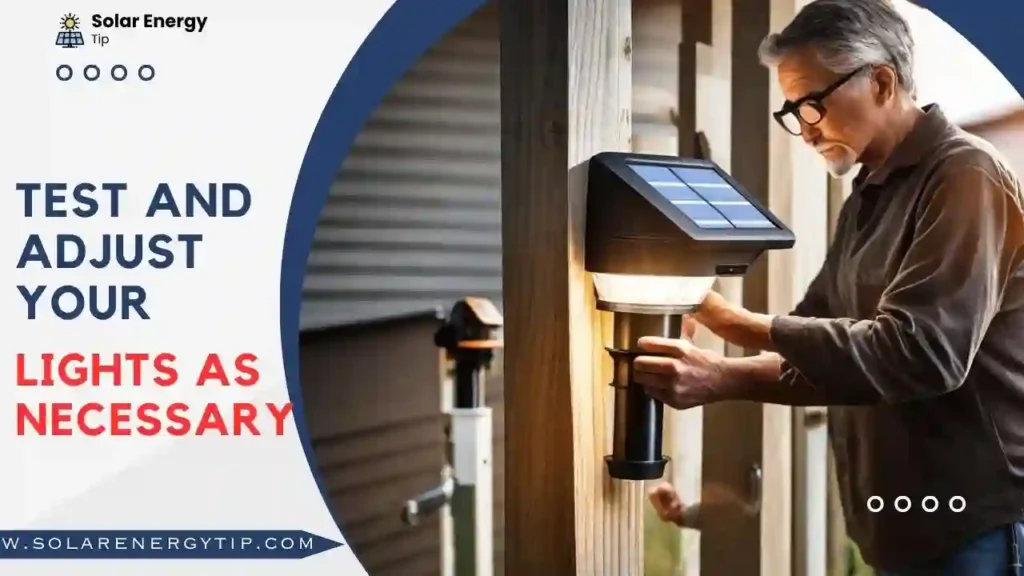
It is important to examine and adjust your solar lights to ensure they are in the ideal position once you have firmly fixed them to the fence posts.
Make sure the solar panel faces the most sunshine direction by adjusting the angle during the day.
In addition, turn on the light at night to ensure it is functional and well-lit. Try modifying the solar panel’s position or angle if it still doesn’t work.
By doing this, you can ensure that your solar-powered lights will operate over lengthy nights.
We’ll review how many factors are considered to make solar lights for fence posts very productive.
Read More: Vinegar a Cleaning Solution For Solar Lights
👉 Step 7. Add Additional Light Sources, Such as Solar Panels
Adding additional light sources, such as solar panels, to a fence post can be a great way to add security and visibility to your outdoor space.
Installing solar lights on a fence post is simple and requires minimal maintenance. With these lights, you can enjoy the convenience of having energy-efficient, automated lighting that will turn on at dusk and off at dawn.
Furthermore, you won’t have to worry about wiring or needing an electrical outlet since the solar panel will draw energy from the sun.
With just a few steps, you can easily install solar lights on your fence post to add extra light and security to your outdoor space.
- Research Available Solar Panels
- Select the Appropriate Solar Panels for Your Needs
- Acquire the Necessary Tools and Supplies for the Installation
- Install the Solar Panels in the Desired Location
- Connect the Solar Panels to the Electrical System
- Test and Monitor the Performance of the Solar Panels
- Adjust and Maintain as Needed
Best Solar Lights For Fence Post on your property
Selecting the solar light that best suits your needs is crucial because it comes in several sizes and shapes.
Solar lights may be a great addition to any property with careful planning during selection and installation.
For that, the following is the list of 7 solar lights for your fence post, which I suggest you 👇
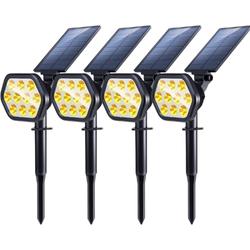
1: Greluna Solar Wall Lights
Greluna Solar Wall Lights
2 Modes Solar LED Outdoor
- Suitable for daily decoration
- Easy to install
- Lighting for 8 hours
If you want to add solar lights to your fence posts, Greluna Solar wall lights are a fantastic choice.
This device offers up to 12 hours of warm white lighting each night and has a simple, tool-free installation process.
You don’t need to worry about wiring in electricity or changing the batteries because the lights include an integrated solar panel and rechargeable battery.
Thanks to the sturdy, weatherproof construction, your lights will survive all forms of weather, from heat and cold to rain and snow.
You can easily add some ambiance to your outdoor environment with Greluna Solar WallLights.
Pros and Cons of Greluna Solar Wall Lights
Pros
- Easily assembled without tools.
- 12 hours of pleasant white lighting nightly.
- Waterproof and durable.
- Improves outdoor ambiance.
Cons
- Weak lighting may be possible.
- Installations can be difficult.
- Maintenance may be needed.
2. URPOWER Solar Lights
URPOWER Solar Lights for Fence
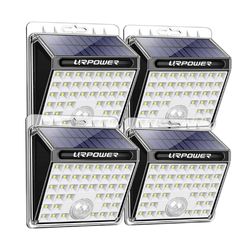
LED Motion Sensor Security Lights
- Outdoor URPOWER Solar Lights,
- Waterproof
- 40 LED Motion Sensor Security Lights
- Solar-Powered Outdoor Backyard Lights
The URPOWER Solar Lights are an excellent option for illuminating a fence post because they are made to be a simple and quick outdoor lighting solution.
After a full day of charging, their eight LED bulbs can produce light for up to 12 hours. They are ideal for outdoor use because they are heatproof and waterproof.
Thanks to the light’s built-in rechargeable battery, no additional batteries or wiring are required.
These lights may be quickly and easily installed using the accompanying mounting gear.
Pros and Cons of URPOWER Solar Lights
Pros
- Includes mounting hardware for easy installation.
- 8 LED bulbs provide 12 hours of light
- Waterproof and heatproof for outdoor use
- Rechargeable, no wiring or batteries needed.
Cons
- Not as bright as other models.
- Lights may last less than other models.
3. InnoGear Solar Gutter Lights
InnoGear Solar Gutter Lights
Solar Motion Lights
- 29LED IP65 Outdoor Motion Sensor Lights
- 4-Mode Lighting Pack
- Two Wall Wireless Security Lights
- Yard Barn Porch Garage Pole Mounting
The InnoGear Solar Gutter Lights illuminate a fence post without dealing with wire or cords.
These lights may be mounted straight into the fence post without additional labour because they are simple to install and include all required mounting hardware.
Solar panels provide a durable and energy-efficient lighting option by absorbing energy during the day and using it to power the lights at night.
InnoGear Solar Gutter Lights will provide a fashionable and valuable touch to your fence posts thanks to their assortment of designs and colors.
Pros and Cons of InnoGear Solar Gutter Lights
Pros
- Mounting hardware is included for easy installation.
- Daytime energy powers nightlights
- Different colors and styles
- Durable energy-saving lighting
Cons
- May lack electricity to illuminate a large region.
- Pricey compared to alternative lighting.
- In some weather, not functional.
4. Sunforce Solar Motion Light
Sunforce Solar Motion Light
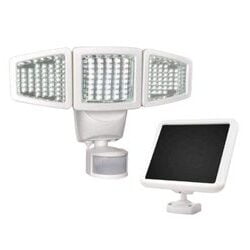
Ideal for all locations
- Super Bright 1000 Lumens, 30 Detection Distance
- Fully Weatherproof, 180 Degree Range
- Garage-mount
- Shed or Home Exterior
The Sunforce Solar Motion Light is ideal for adding security and convenience to your outdoor areas.
This solar-powered light detects motion up to 30 feet away and automatically turns on when triggered.
It can be easily installed on a fence post, deck, or side of a house by simply attaching the mounting hardware and mounting bracket to the desired location.
The light is weatherproof and requires no wiring or batteries. With its adjustable detection range and time settings, this solar motion light is ideal for illuminating pathways, entrances, decks, driveways, and more.
Pros and Cons of Sunforce Solar Motion Light
Pros
- Easy to install with included mounting hardware
- No wiring or batteries are required
- Detects motion up to 30 feet away
- Automatically turns on when triggered
- Adjustable detection range and time settings
Cons
- It may not illuminate big regions effectively.
- It is expensive compared to other lighting options.
- It may not work in all weather.
5. Nekteck Solar Lights for Fence
Nekteck Solar Lights for Fence
Adjustable Security Decoration Lighting
- Outdoor Nekteck Solar Lights
- 10 Wireless LED Spotlights 2-in-1
- Yard Garden Path Pool Driveway Porch
- Solar-Powered Wall Lights
Using Nekteck Solar Lights to illuminate fence posts is a quick and beautiful solution.
Because of their rugged design, these lights are simple to install, don’t require wiring, and can resist the elements for many years of dependable use.
These lights will offer ample illumination for any outdoor location thanks to changeable panels that can capture the sun’s energy throughout the day.
Additionally, they are a fantastic option for residential and commercial settings because of their timeless style.
Pros and Cons of Nekteck Solar Lights
Pros
- Quick and easy to install without wire or electricity
- Solar panels that can be adjusted
- Designs that withstand weather
- Traditional home and business style
Cons
- Perhaps not powerful enough to illuminate a broad region.
- Certain lights may be fragile.
- costly compared to alternative lighting options
6. Aootek New Upgraded Solar Lights
Aootek New Upgraded Solar Lights
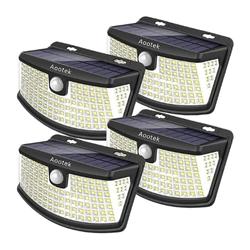
270° Wide Angle
- IP65 Waterproof,
- Security Lights for Easy Installation
- New Aootek 120 LED Solar Lights (4 Pack)
Recently, Aerotek unveiled their updated solar lights, ideal for providing additional lighting to your outdoor space.
These effective solar lights can illuminate an area for up to 12 hours on a single charge and are made simple to install on fence posts.
These solar lights are ideal for giving your backyard a soft glow because they don’t require wiring or additional power sources.
Pros and Cons of Aootek’s New Upgraded Solar Lights
Pros
- Installs easily on fence posts
- Illuminates for 12 hours per charge.
- No wiring or energy sources are needed.
- Subtle backyard glow
Cons
- Sensitive to shadows from nearby objects
- It can be difficult to adjust the angle of the solar panels
- The light may not be as bright as other solar lights
7. iGlow Outdoor LED Post Cap Light
iGlow Outdoor LED Post Cap Light
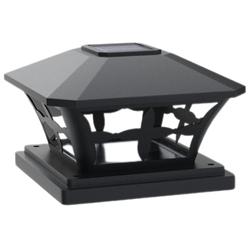
Square Fence Light Landscape Lamp
- Automatic Sensor Activates
- No Wiring Required
- Shade Color – White
The ideal way to add solar lighting to your fence posts is with an iGlow Outdoor LED Post Cap Light.
This direct light comes with six fashionable black post caps that are available in a 6-pack and are made to suit both round and square fence posts.
The LED lights are powered by a rechargeable battery that, soaking up solar energy during the day, can illuminate an area for up to 8 hours at night.
The iGlow Outdoor LED Post Cap Light is an excellent option for adding a touch of atmosphere to your outdoor environment thanks to its long battery life and elegant appearance.
Pros and Cons of Aootek’s New Upgraded Solar Lights
Pros
- Simple post covers make installation easy.
- The rechargeable battery gets solar energy.
- Provides 8 hours of nighttime illumination
- The stylish black design fits many fence posts.
Cons
- Battery life may be shorter than other models.
- It may be less brilliant than other solar lights.
- More expensive than other lighting options
FAQs
How do you stick solar lights to brick?
Solar lights can be attached to brick surfaces in a variety of ways:
- Adhesive tape: The lights can be attached to the brick using mounting or double-sided adhesive tape. Although it is a quick and simple solution, the tape may eventually lose its stickiness.
- Screws and anchors: Plastic anchors should be inserted into small holes drilled into the masonry. After that, fasten the lights to the anchors with screws. Although this approach entails drilling through the brick, it is more durable.
- Hook and loop fasteners: Velcro or other hook-and-loop fasteners can affix the lights to the brick. This is a more transient solution, but the lights can be easily removed and moved around as needed.
- Epoxy putty: You can use epoxy putty to secure the lights to the masonry as well. It can be difficult to undo this procedure because it is so permanent.
Select the suitable equipment and substance that can adhere to your brick surface. You should also consider the weight, size, and exposure to the elements of the lights you intend to stick.
How do you hang lights on a fence without nails?
Without using nails, there are numerous ways to hang lights on a fence:
- A hook and loop closure
- Adhesive tape
- nut hooks
- Cord ties
- Plant hooks
What are the disadvantages of solar lights?
The use of solar lighting has several drawbacks, including:
- A brief lifetime
- Limited emission of light
- Depending on the weather
- Runtime restriction
- Cost
- Installation
- Quality
Conclusion
You can install solar lights on your fence post with some preparation. You may enjoy energy-efficient, automated lighting that turns on at nightfall and off at dawn by following these simple steps, which will walk you through the installation procedure.
Be sure to speak with a professional with any installation queries or issues.