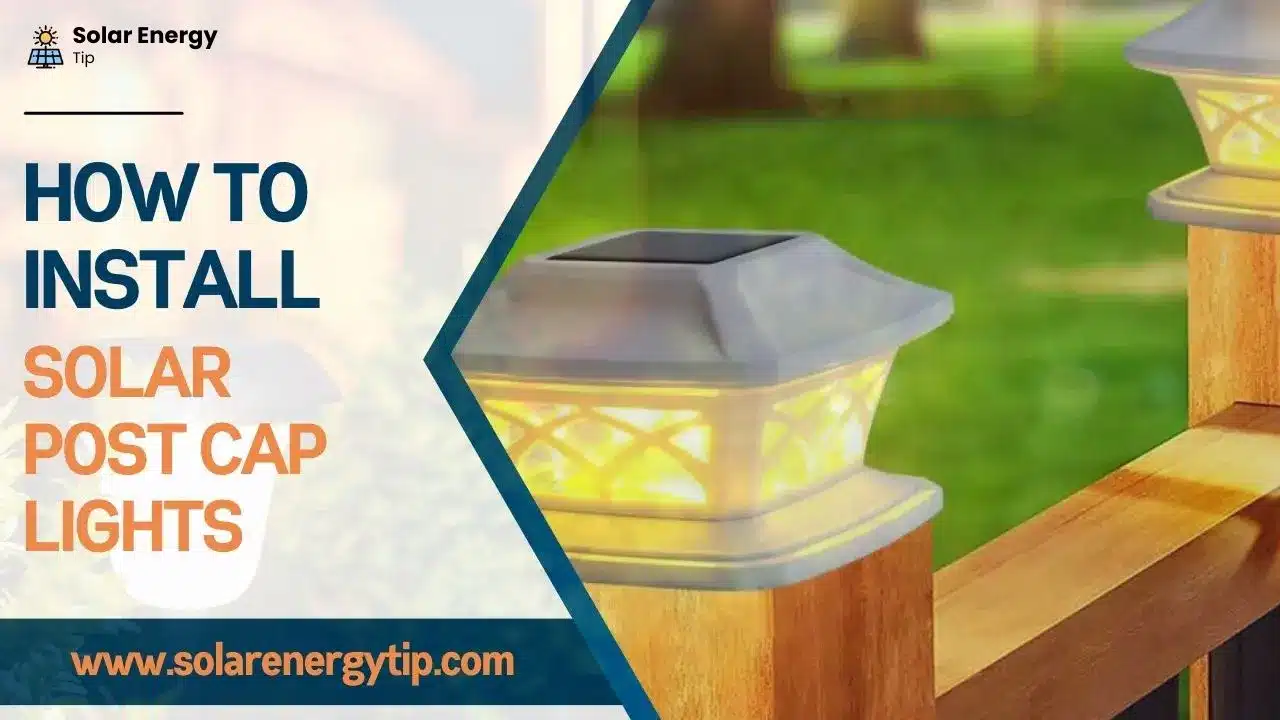
Are you looking to install solar post-cap lights on your property? If so, you will get complete knowledge about it from this article.
Installing solar post-cap lights can be a great way to save money and reduce your carbon footprint.
According to the United States Department of Energy, solar post caps are becoming increasingly popular, with more than 800,000 installations in the US in 2022 alone.
Additionally, solar lights are increasing worldwide because they are easy to use, and you can install them yourself.
With their easy installation and minimal maintenance, these lights are a perfect addition to any residential or commercial property.
If you are in a hurry, I suggest a good solar spot cap light as follows. Apart from that, the information on installing it, such as the Types of solar spotcap lights and the best, can be found below.
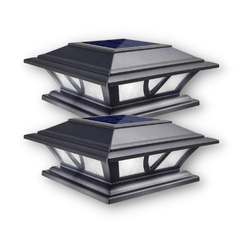
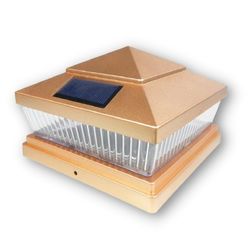
Siedinlar Solar Post Cap Lights
Solar Light
- Easy to use this product
- Bright Solar Deck Dock Lights
- Applicable Size 4×4, 5×5, 6×6
- IP44 Water Proof
Before installing solar post-cap lights on your property, you must know a few things. Follow the steps below to install solar post-cap lights on your property.
Installation of Solar Post Cap Lights | Step-By-Step Guide
These post-cap lights are a convenient and eco-friendly way to add lighting to your outdoor space on your property. They are easy to install and require minimal maintenance, as the sun’s energy powers them through photovoltaic cells.
To install solar post cap lights on your property, you will need the following materials: 👇
Here is a step-by-step guide to installing solar post-cap lights: 👇
Step 1: Find a suitable location for the solar post cap light.

Finding the perfect spot for your solar lights can be tricky. Measure the post size and check the area for adequate sunlight.
This is important because solar lights need direct sunlight to charge the battery and power the light.
Consider whether you want your lights to be viewed from different angles. When choosing a location for your light, consider the base of the post and its sides and top.
Where should you place your solar post cap light? Here are a few ideas:
⭐ On the porch or deck
⭐ In your garden
⭐ Near a door or window
Here, I suggest one article based on putting solar lights on the fence.
Step 2: Dig a hole in the ground large enough to accommodate the post cap light.
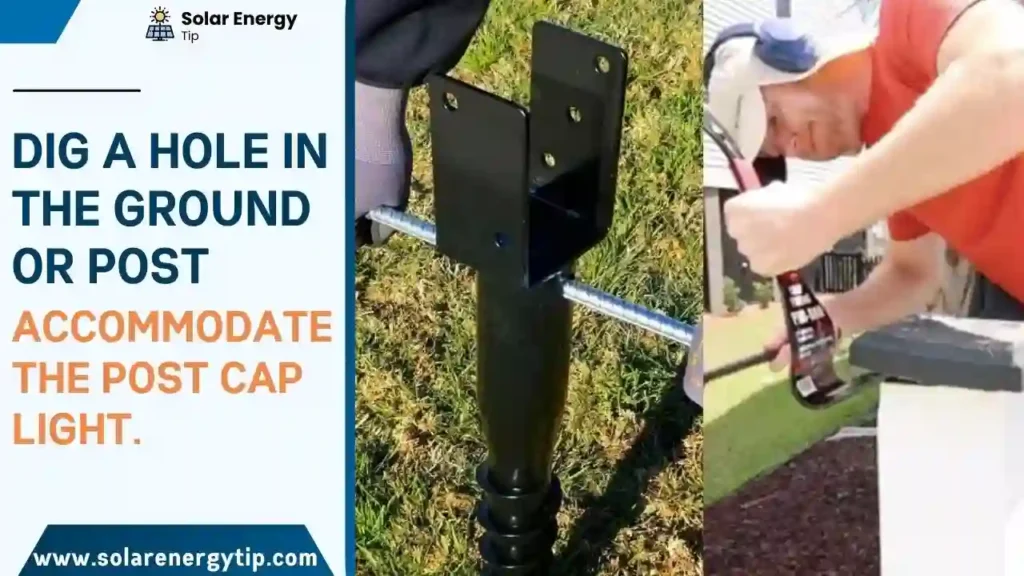
Installing solar post-cap lights is a great way to light up your outdoor space without worrying about wiring or electricity.
Before you install it, you must dig a hole in the ground – large enough to securely fit the post cap light.
This can be daunting, so bringing in a professional landscaper or contractor is worth considering to ensure the job is done right. Once the hole is complete, you’re ready to go.👍
Consider the following points when digging a hole in the ground large enough to accommodate the post cap light.
Step 3: Place the post cap light into the hole and secure it with concrete or rebar.
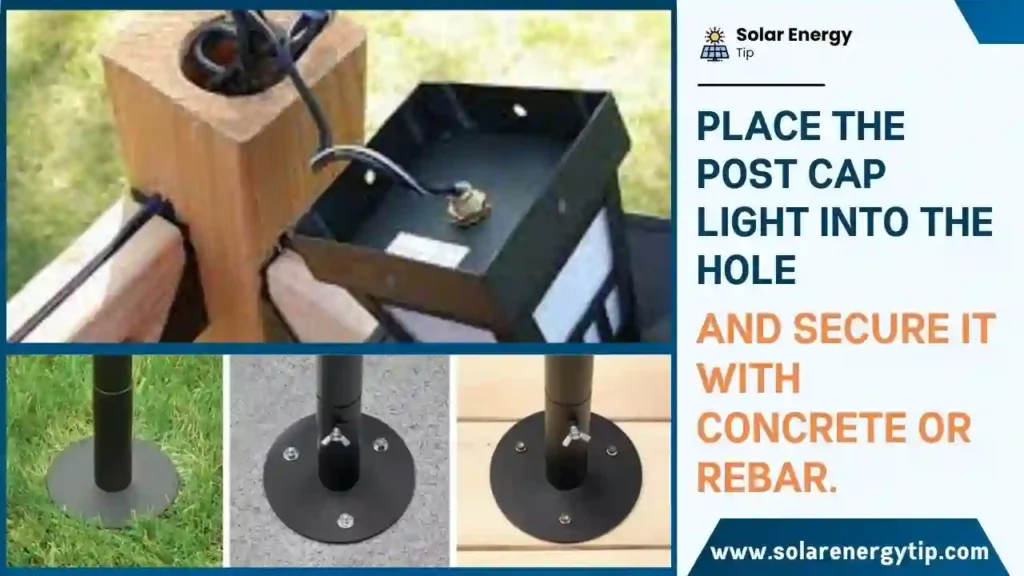
Installing solar post-cap lights is a great way to light up your yard. After setting the post cap light in the hole, ensure it is secured by adding concrete or rebar.
This will help ensure that the post-cap light will not move or scatter.
Solar post-cap lights allow you to enjoy the outdoors without worrying about plugging in cords or changing batteries.
Step 4: Connect the Electrical Wires to the Post Cap Light.

Remove the light Fixture From the Post Cap
Removing a solar post-cap light fixture is a relatively simple process that can be done in just a few steps.
First, you’ll need to unscrew the cap from the post, then separate the wiring and solar panel.
Once you’ve disconnected those pieces, carefully remove the light fixture and store it safely until you’re ready to install a new one.
Connect the Ground Wires
Installing solar post-cap lights is a simple task. After the lights are securely mounted, the ground wires.
This is essential as it ensures that the light is appropriately grounded and can operate safely.
Be sure to follow the instructions carefully when completing this step – it’s integral to ensuring your post cap lights work as intended.
Connect the Hot and Neutral Wires
Installing solar post-cap lights is a great way to add a touch of atmosphere to your property. The next step in the installation process is connecting the hot and neutral wires.
This is a reasonably straightforward process and requires no special equipment or knowledge. You must match the corresponding wires and twist them together until they are firmly connected.
After that, it’s just a matter of ensuring everything is secure, and you’ll be ready to go. 👍
Securely Attach the Wire to The Post Cap Light Fixture
Now that you’ve installed your post-cap light fixture, it’s time to connect the wires.
Make sure to securely attach the wire to the post cap light fixture and then attach the wire to the solar panel.
After that, you’ll be ready to enjoy your new solar post-cap light.
Replace The Post Cap Light Fixture on Top of the Post
Replacing a post cap light fixture on top of your post is a simple fix that can make a big difference in the look of your outdoor space.
It can easily replace an old fixture with a new one without running any additional wiring.
You need to ensure the battery is charged, the light is securely attached, and the solar panel is in direct sunlight to ensure the light stays on all night.
Read More: Best Solar Uplighting for your home
Step 5: Install the Battery Box And Connect The Wires to It.
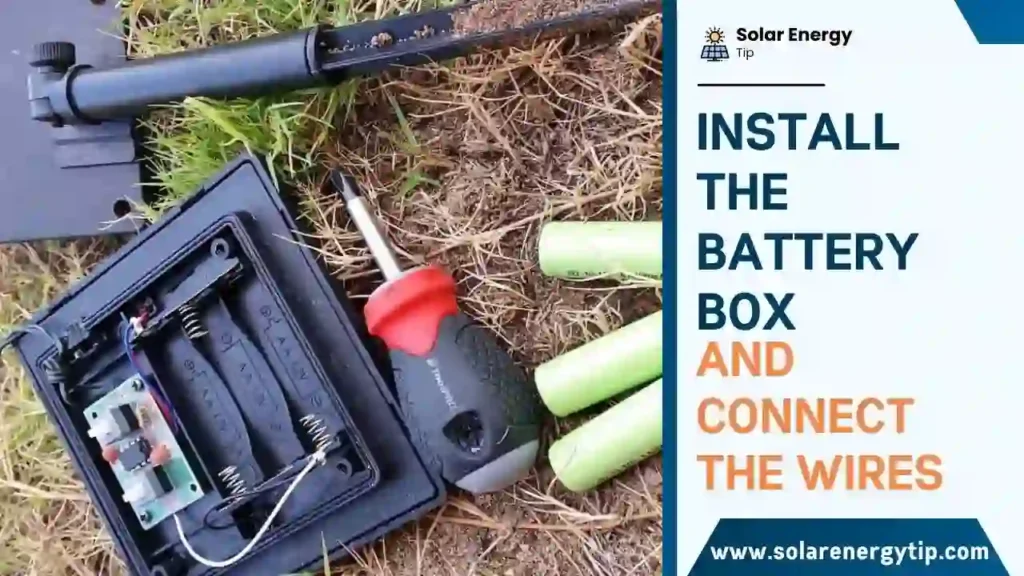
For you to install the battery box and connect the wires to the solar post cap light, you will need the following materials:
- A battery box with the correct size and type of battery for your solar post cap light
- Wire stripper tool
- Wire connectors (such as wire nuts or butt splices)
- Electrical tape
After gathering the tools needed to install and connect the wires, here are some steps to set up the battery box.
“Remember to follow all safety precautions when working with electrical wires and batteries. If you are not comfortable completing this task, it is recommended to hire a professional electrician to handle the installation.”
Step 6: Connect the Electrical Wires To The Batteries.
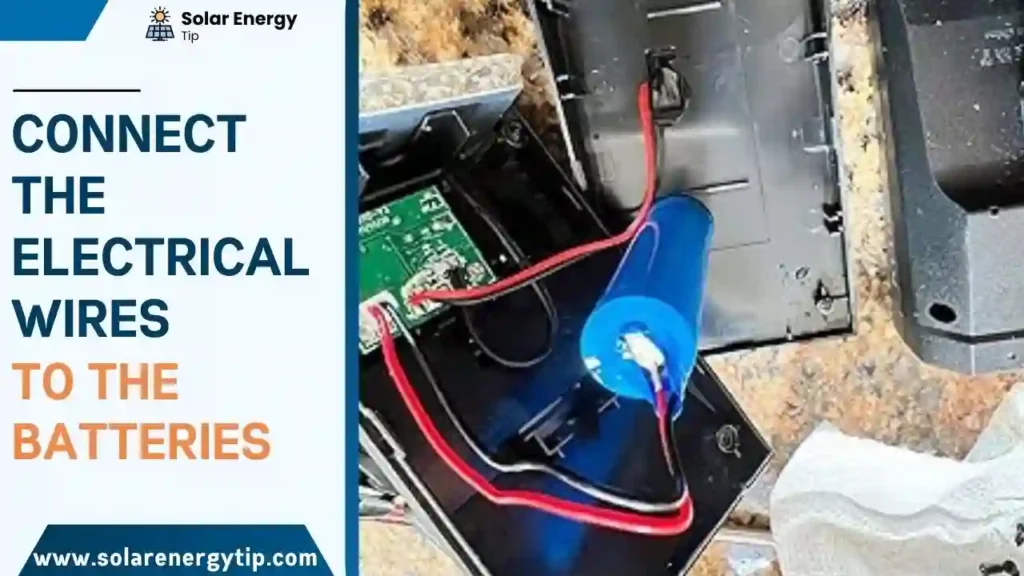
Installing solar post-cap lights is an easy and affordable way to add extra lighting to your outdoor space.
You must connect electrical wires to the batteries to ensure your post-cap lights work properly.
This process is simple and can be completed in just a few minutes. With the right materials and some basic electrical knowledge
- Insert the positive terminal of the battery into the positive wire connector.
- Secure the connection with a nut or bolt.
- Connect the negative terminal of the battery to the negative wire connector.
- Secure the connection with a nut or bolt.
- Connect each of the other wires to their respective terminals on the battery.
- Secure all connections with nuts, bolts, or screws as needed.
Step 7: Add Watertight Sealant Around all Connections.
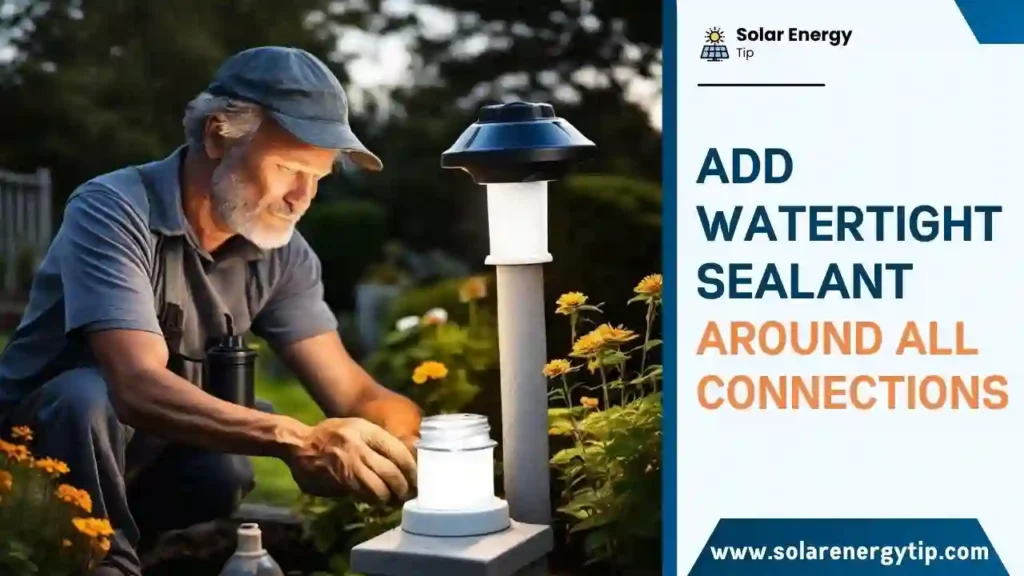
When installing solar post cap lights, it is important to remember to add watertight sealant around all connections.
This will ensure your lights stay in place and remain watertight for years. It is a simple step that can save you from costly repairs and replacements in the future.
Thus, we have seen information on installing lights on your property. I suggest you see the video for more details.
Now, we will get detailed information about how many types these solar post cap lights come in and what they are like.
Types of Solar Post Cap Lights
The types of lights can be classified based on their size and the materials used in their construction.
Types Based on Size
Usually, in the USA, Solar post cap lights are designed to fit on top of the deck and fence posts. They come in different sizes to fit different-sized posts.
Here are some examples of sizes that are commonly available and used mostly:
Solar Post Cap Lights 4×4:
- Designed to fit on top of a 4×4 inch post
- Small and wise
- Can add a decorative touch to your outdoor space
Solar Post Cap Lights 6×6:
- Designed to fit on top of a 5×5 inch post
- A 4×4-inch light may be slightly more prominent and more noticeable
- Can provide more lighting coverage than smaller lights
Solar Post Cap Lights 5×5:
- Designed to fit on top of a 6×6 inch post
- A small light can be more prominent and more noticeable than a light
- Can provide optimal lighting coverage of all sizes
It’s essential to ensure you get the right size and best solar post cap lights for your posts, as too small or too big lights may not fit or show up correctly.
In the United States, the types of solar post-cap lights that are available include:
Types of lights By materials used in their structure
LED Solar Post Cap Light

- LED Qty: 52pcs SMD2835
- Beauty Design
Glass solar lights:
- Solar Fence Post Cap Light
- Easy Installation
iGlow Copper Solar Post Cap Light
- Automatic Sensor Activates
- Weatherproof

What are the best Solar Post Cap Lights?
Solar post-cap lights are the perfect solution if you’re looking for a simple and stylish way to light up your outdoor space.
These lights provide enough illumination to create a beautiful ambiance while being energy-efficient and y to install.
With so many options on the market, deciding which is best for you can be hard.
Luckily, there are a few key factors to consider when choosing the best solar post-cap light for your needs.
Below are some best solar post-flight suggestions I have for you.
| Solar Post Cap Lights | Buy Solar Post Cap Lights |
|---|---|
| Gigalumi Outdoor Lights | See on Amazon |
| Koolscapes Solar Powered LED Post Cap Light | See on Amazon |
| Gama Sonic Baytown II Solar Cap Light | See on Amazon |
| Nature Power Bayport Light | See on Amazon |
| Siedinlar Solar Lights | See on Amazon |
| Sunforce 81256 Triple Head Solar Motion Activated Light | See on Amazon |
| Classy Caps Imperial Aluminum Solar Post Cap | See on Amazon |
FAQ: How To Install Solar Post Cap Lights On Your Property
How long do solar post-cap lights Last?
Solar post-cap lights are designed to last for many years with proper maintenance. The exact lifespan of a solar post cap light depends on many factors, including the quality of the product, the type of battery it uses, and how much sunlight it receives.
Generally, you can expect a solar post-cap light to last several years, with some models lasting ten years or more.
To extend the life of your solar post cap light, follow the manufacturer’s recommendations for maintenance, such as cleaning the panels and replacing batteries as needed.
What are the disadvantages of solar lights?
Some potential disadvantages of using solar lights are:
- 1. Initial cost: Solar lights are more expensive than traditional electric ones.
- 2. Dependence on the weather: Solar lights rely on sunlight to charge their batteries, so they may need to perform better on overcast or cloudy days
- 3. Limited light output: Solar lights may not be as bright as traditional electric lights, so they may not be suitable for illuminating large areas or for use as security lights.
- 4. Short lifespan: Solar lights will only last as short as traditional electric lights, especially if they are not correctly maintained or used in areas with limited sunlight.
- 5. Disposal concerns: Solar lights cannot be disposed of as quickly as traditional electric lights, as they contain batteries and other components that can harm the environment.
Are solar lights worth the money?
Whether or not solar lights are worth the money depends on your specific needs and circumstances. Here are some things to consider when deciding whether solar lights are worth the investment:
- Initial Cost
- Location
- Maintenance
- Environmental impact
Overall, solar lights can be a good choice to save money on electricity costs and reduce your environmental impact. Still, they may not be suitable if you need bright lights or to illuminate large areas.
Conclusion
These steps will ensure that you install solar post-cap lights correctly and safely. You’ll enjoy extra light all night by installing these lights into your outdoor space.
Additionally, by following these simple tips, you can install solar post-cap lights on almost any type of Deck Or Porch For Relaxing Evening Home Decor.
So go ahead and install your solar post-cap lights today.