Hi pet lover, I know your dog must be getting cold in his house in the winter season; that’s why you came here to read my post.
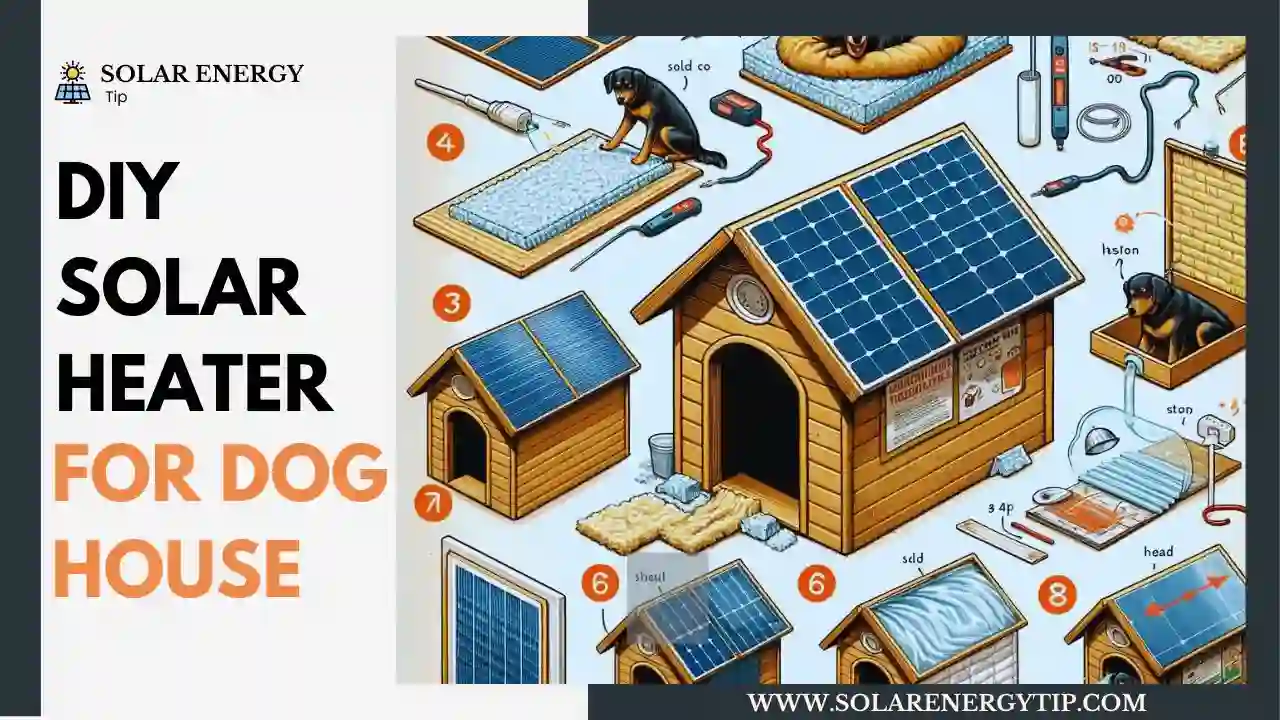
So here, I am going to give you information on a DIY solar heater for a dog house, which warms your furry friends during the cold winter months.
This is an eco-friendly project that you will use for your dog.
If your dog’s kennel is in an area where electricity is not easily accessible, you can easily take this DIY approach.
This is a green approach to pet comfort that’s easy to make and kind to the earth.
In this blog post, we’ll teach you how to make a solar heater for your dog house and ensure your furry companion stays warm and comfortable.
Let’s dive in,
- Types of DIY Approach to Make a Solar Heater for a Pet’s House
- DIY Solar Heater for Dog House without Electricity (This is used only during the day)
- DIY Solar Powered Dog House Heater With Solar-Generated Electricity: A Step-by-Step Guide to Make
- Benefits of DIY Solar-Powered Heater for Dog House
- Faqs
- How Much Solar Heated Dog House?
- Are there any Specific Maintenance Requirements for a Solar Heater in a Dog House?
- Is a Solar Heater Safe for Use in a Dog House?
- How effective is a DIY Solar Heater for a dog house in maintaining a Comfortable Temperature?
- How can I ensure that the Solar Heater is Pet-Friendly and Free from Hazards?
- Conclusion
Types of DIY Approach to Make a Solar Heater for a Pet’s House
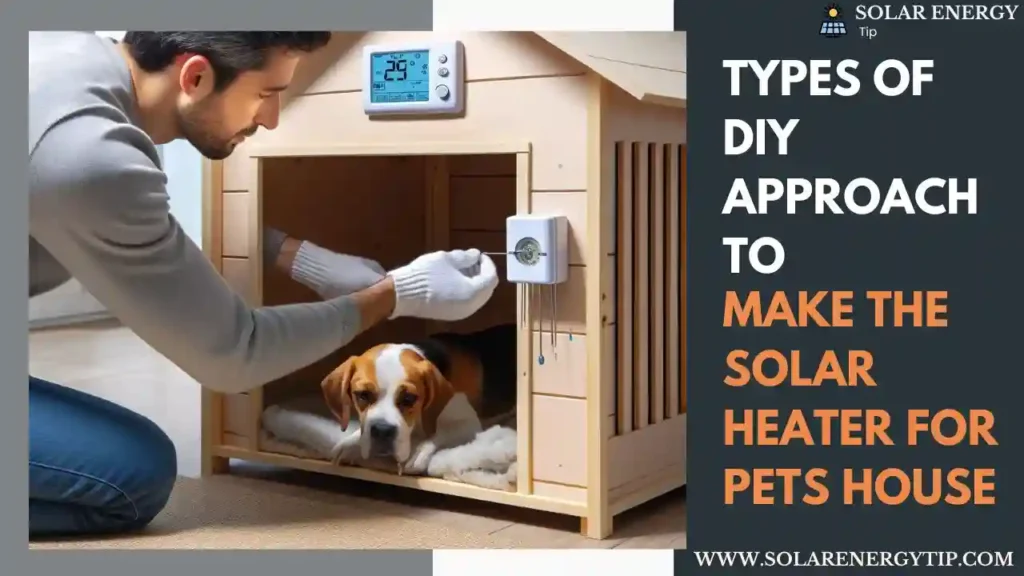
There are two types of DIY approaches to creating a solar heater for a pet home.
- Create a solar heater without Electricity (this is used only during the day)
- Use solar panels to produce electricity to heat the dog house installation (this is capable at night also)
So, here I discuss one approach.
DIY Solar Heater for Dog House without Electricity (This is used only during the day)
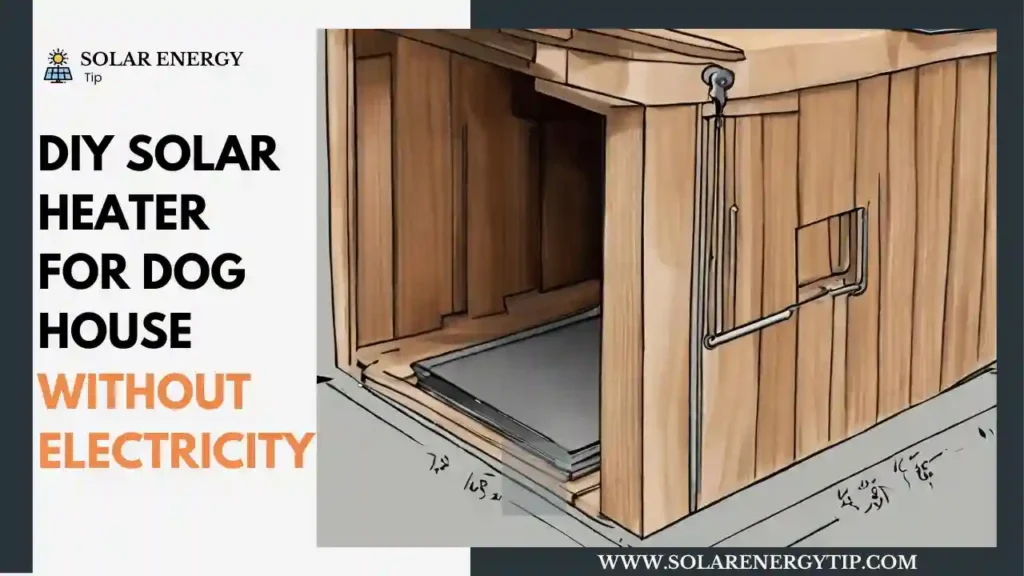
If you have a question, how can I keep my dog house with solar heat without electricity? Then this is for your homemade dog house heater
Let’s get started. Here’s what materials you’ll need:
- A wooden box for the dog house heater
- Plexiglass or acrylic sheet
- A sheet of black aluminium foil
- One-inch-thick Styrofoam board
- Solar window screen
- PVC pipes and connectors
- Primer and paint
Now, start the steps to build a DIY dog house with a solar heater
Step 1: First, you can start building the solar heater by cutting four wooden panels to make a box.
Step 2: Then attach the sheet and make holes for the PVC pipes.
Step 3: Now, for insulation, seal the box with Styrofoam, which paints and protects it from the outer weather.
Foam Board, Foam Board 20×30, White Foam Board
Versatile 20×30 White Foam Board: Ideal for Presentations, Mounting, Acid-Free Core, Lightweight
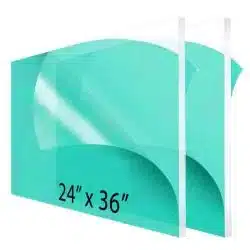
Step 4: Next, cut the Plexiglass or acrylic sheet to fit the size of the box.
Clear Acrylic Sheet Plexiglass – 1/4” Thick
This Plexiglass is best for dog house solar heaters, which are made from top-quality acrylic; this is durable and weather-resistant.
Step 3: Now, for insulation, seal the box with Styrofoam, which protects it from the outer weather and paints it.
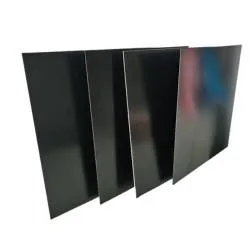
Step 5: Coat one side with black aluminum foil and attach it to the box using adhesive.
Aluminum Plate Black Anodized Aluminium Sheet
WZHLCX Black Anodized Aluminum Plate: Durable, Rust-Resistant, Laser-Engravable, 8×8 inches, 4-Pack
Step 6: Insert the PVC pipes through the holes, placing one pipe at the bottom and the other at the top.
Step 7: Cover the pipes with a solar window screen to prevent debris from entering the box.
How does a DIY solar heater work for a dog house? (without electricity)
Now that the solar heater is built, let’s discuss how it works.
The sun’s rays enter through the plexiglass and heat the black aluminum foil, which in turn warms up the air that passes through the box.
The warm air is then dispersed into the dog house through the bottom pipe.
And the top pipe releases any hot air that may build up inside the box.
This is a passive system that does not require any electricity and is incredibly easy to maintain.
But the drawback of this system is that it runs only in the daytime, not at night.
So, for that, I suggest a second approach for heating your pet’s house with solar energy.
DIY Solar Powered Dog House Heater With Solar-Generated Electricity: A Step-by-Step Guide to Make
In this DIY approach, I tell you once you put a solar panel installation on top of your dog house.
It will also help you keep your dog’s house cool in the summer and warm in the winter. I create a DIY solar heater for my pets through this type of approach; I love this.
First, I suggest some tools and materials that help you with DIY solar heaters in your dog’s house.
- Small solar panel (50W-100W)
- 12V solar charge controller
- 12V deep cycle battery
- A DC-powered heating pad or ceramic heating element
- Thermostat with probe
- DC to AC power inverter (if using an AC heater)
- Wires, cables, conduit, and connectors
- Insulation shield
- Plywood and 2x4s for the frame
- Tools: drill, screwdriver, wrenches, wire strippers
So, let me give you a step-by-step guide on how to install a solar-powered dog house heater by yourself.
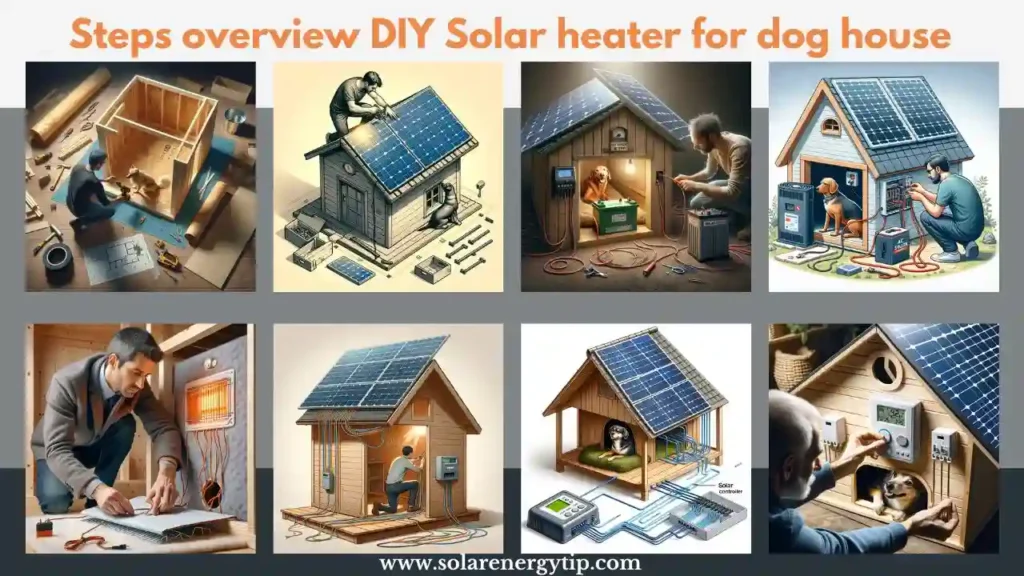
Step 1: First, you build a plywood frame box for the dog house according to the desired size. Which insulates the house walls, floor, ceiling, and door flap with an insulation shield.
Step 2: Then, cut a vent hole at the top of one side of the wall to allow warm air to exit.
Step 3: Now, our main part of the installation is the solar panel on the top of the dog house, which is oriented to the south to use maximum sunlight. To secure it, use angle brackets.
Step 4: Now, execute wiring from the solar panel, which is at the top of the house, into the dog house, then connect it to a solar charge controller.
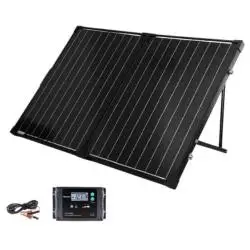
Renogy 100-Watt 12-Volt Portable Solar Panel With Solar Charge Controller
Solar-powered foldable Suitcase with an Adjustable Kickstand, Waterproof 20A Charger Controller, and 100W of Solar Power, best for a dog house heater
Step 5: After connecting a charge controller, connect a wire to a 12V battery, which stores extra energy for cloudy days and nights. It would help if you used an appropriate gauge wire based on the distance.
Step 6: Now, the main part of the heating house is a heating pad or ceramic heater installation. It is installed inside the dog house wall or floor. Then, the joint wire connects to the battery.
HyphessAda Upgraded the Heated Dog Bed with an Enlarged Heating Area
Upgraded heated dog bed with a greater heating area, thick and flat memory foam, and sponge cloth cover, no assembly required. Ideal for arthritic and elderly pets.
Step 7: Attach a thermostat with a probe inside the dog house, which controls the heating elements.
Step 8: If you are using an AC heating element, then use a power inverter to connect to the battery, which converts the power from DC to AC.
Step 9: Connect all wiring for the solar dog house heater securely using crimp connectors or solder.
Step 10: Now, the testing step starts. Turn on the system, test thermostat controls, and monitor the temperature inside the house to ensure safe ranges.
Step 11: Allow the solar panel to charge the battery fully. Then, check the heating function overnight to see if it works properly.
Step 12: Make any adjustments to the thermostat or heating element as you deem necessary. Check your system regularly.
With proper insulation and solar heating, your dog will stay nice and cozy all winter long.
Benefits of DIY Solar-Powered Heater for Dog House
Here, I tell you the benefits of a DIY approach to solar-operated heaters in your furry friend’s house.
- Free solar heat keeps your dog comfortable in winter.
- Without electricity or gas needed for outdoor dog housing
- Lower heating expenses than typical heaters
- Adjustable to your dog housing design
- Green heating solution
- Personal satisfaction from developing fundamental skills
- Heat is provided by solar power without effort.
- In cold weather, keep your dog warm.
- Cheaper than commercial heaters to build.
- Simple components simplify installation and maintenance.
Let me know if you need any clarification or have additional questions. Do not hesitate to comment below.
Faqs
How Much Solar Heated Dog House?
A basic solar-heated dog house can be built for $200-$300 if you have some DIY skills. The main costs are the solar panel ($80-$120) and battery ($50-$100).
Overall, it is a cost-effective way to provide warm shelter for a dog.
Are there any Specific Maintenance Requirements for a Solar Heater in a Dog House?
Check wiring connections, monitor battery charge, clean solar panels occasionally, and observe the heating function. Overall, DIY solar dog house heaters require minimal maintenance if it built properly.
Is a Solar Heater Safe for Use in a Dog House?
Yes, if properly installed and monitored, a solar heater can be safe and effective for use in a dog house.
How effective is a DIY Solar Heater for a dog house in maintaining a Comfortable Temperature?
A well-designed DIY solar heater can effectively maintain a comfortable temperature for a dog, but proper sizing of components and insulation is key for good heat retention.
How can I ensure that the Solar Heater is Pet-Friendly and Free from Hazards?
Use UL-certified components, properly insulate wires, mount the heating pad securely, and check temperatures regularly. Proper installation is key for a solar heater that is safe for pets.
Conclusion
In Conclusion, this is a complete guide that provides you with valuable insight for creating a DIY solar heater for a Dog house.
Highlighting environmental-friendliness and cost-effectiveness, this post explores two methods: one using passive solar heating and the other incorporating solar panels for continuous warmth.
By carefully selecting materials, ensuring safe installation, and following the step-by-step instructions, you can offer your furry friend a warm and comfortable house.
This green approach not only enhances your pet’s comfort but also aligns with sustainable practices, making it a win-win solution for environmentally conscious pet owners.
Remember, the key to success lies in meticulous planning, proper execution, and regular maintenance.

